Table of Contents
Introduction: No-Knead French Bread

All of us who are lovers of freshly baked bread will agree to the fact that it’s one of the tiny pleasures of life. Hard and rough on the outside, soft and doughy on the inside, it is almost impossible to avoid the temptation of a warm baguette or boule. Despite the distinct possibility of enjoying square-shaped loaves from an artisan bakery in France, this French bread recipe can be prepared at home with very little effort.
All you need is a handful of items found in every pantry, and a little bit of time as the dough does take time to ferment before you can enjoy it with a cheese board, salad, or bowl of soup. Stick around to learn the incredibly easy method for no-knead French bread.
What Makes French Bread?
But to understand the details of this no-knead procedure, let me explain what makes French bread stand out from the rest. The hallmarks of a French baguette or boule are:
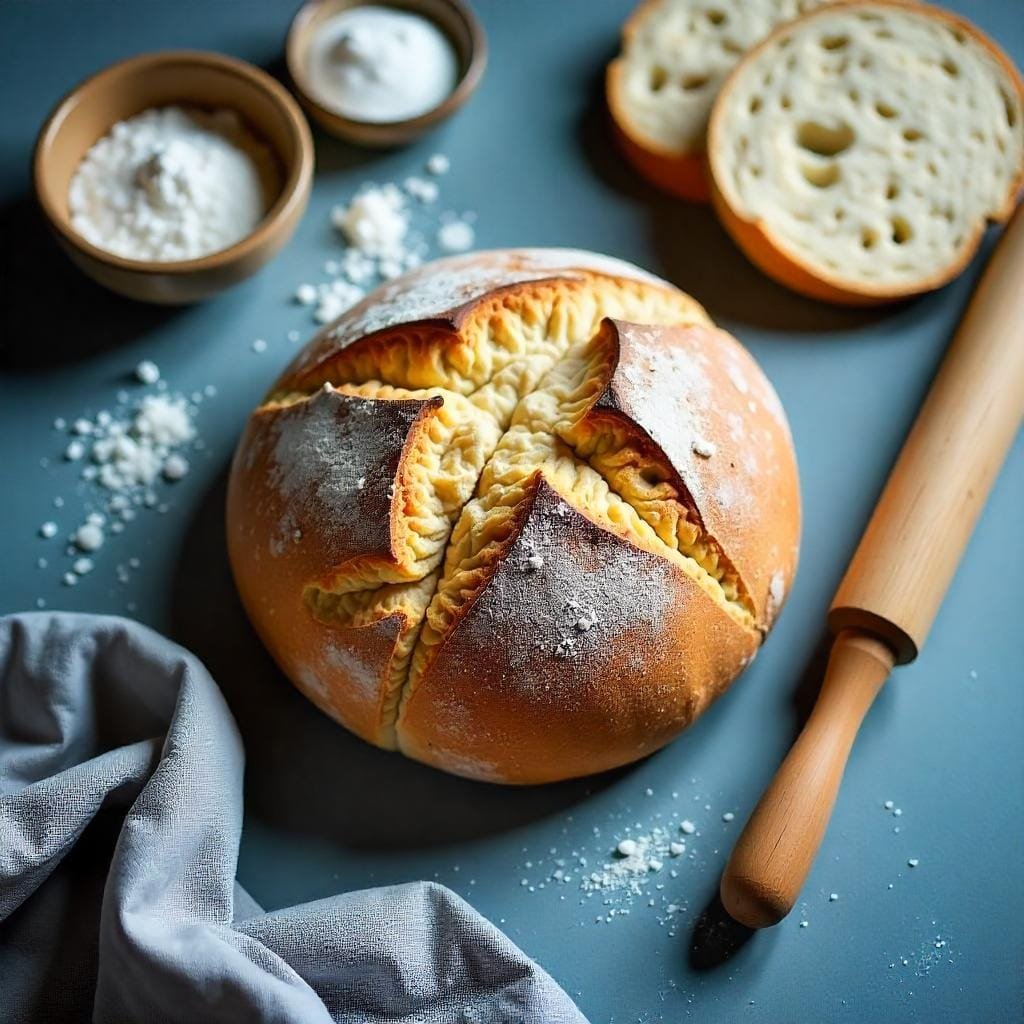
- Crisp, thick crust: The outside crust is slightly crisp and should ideally be dotted before baking with the marks seen on this classic bread:
- Light, airy crumb: The internal structure or the crumbs are irregular and possess a loose honeycomb pattern.
- Mild flavor: The taste is not dominated by French bread, but by them or allows them to stand out. It has a slightly sweet and sour, yeasty, wheat aroma and flavor, and although not my preferred use for it, I like it for sandwiches and cheese.
Ingredients
One of the advantages of no-knead French bread is that it is a very simple bread to make. You need just five ingredient staples you likely already have on hand:
- All-purpose flour: The all-purpose flour without any preservatives should be the one you should be aiming for. King Arthur Baking Company is a good choice here. This aspect enables the formation of an open crumb structure through the content of the protein.
- Water: Use not cold water and do not use water straight from the tap since this will turn on the yeast, use warm water instead.
- Instant yeast: Instant yeast is preferred to active dry yeast, as they are finer, and the particles are distributed more uniformly over the dough.
- Kosher salt: Kosher salt does not contain any additives, has no flavor profile that will interfere with the flavor of the bread, and has a medium grain that well suits the bread. Some of the compounds in table salt can prevent yeast from becoming active.
- Cornmeal: A little cornmeal sprinkled on the baking sheet and within the Dutch oven avoids sticking.
The other mise en place is a sheet of parchment paper, a Dutch oven with a lid, a mixing spoon, and a cooling rack. With such scanty requirements as flour and yeast, plus utensils, it can be described as the easiest homemade bread.
Step-By-Step Method
We are now ready to introduce you to the simple process of making no kneaded bread as soon as you know the principles and have collected all the necessary products.
1. Whisk Flour and Water
In a big basin, mix 3 1⁄3 g all-purpose flour and 1 1⁄2 g slightly warm water. Let rise, covered tightly with plastic wrap so that no skin forms on the surface of the dough.
2. Allow 12-18 Hour Autolysis
Allow the mixture to log at room temperature for 12-18 hours. The timing enables enzymes to produce some of the flavor and structure.
3. Sprinkle Yeast and Salt
Sprinkle 1⁄4 teaspoon instant yeast and 1 1⁄2 teaspoon kosher salt over the skillet’s surface. Do not mix so that the salt will not neutralize the yeast.
4. Fold Just Until Combined
To incorporate the dry ingredients, fold with a silicone spatula just enough to blend the dry into the hydrated dough.
5. Shape Into Ball
Knead on a floured surface into a round smooth dough, folding the dough under, and with the heels of your hands lightly press out the roundness.
6. Proof on Parchment
Place the ball with the seamless side down on parchment paper on top of the cornmeal-coated tray. Tent with plastic wrap and proof for 60-90 minutes.
7. Preheat Oven and Dutch Oven
One hour before shaping, put a 6-quart Dutch oven with a cover into the oven and set it at 450 F. The vessel maintains heat to produce crust.
8. Score Decoratively
Proofing: With a lame, or a very sharp knife, can make slashing that is cutting 1/4 inch deep on the top of the loaf in a decorative manner.
9. Bake Covered
Convey the loaf still on parchment paper carefully into the hot Dutch oven and then cover it baking for 30 minutes.
10. Uncover and Finish Baking
Take off the lid and continue to bake until the crust is very dark brown and the cheese is hot bubbling for 15-20 minutes more. Insert the thermometer into the thickest part of the meat and ensure it is at least 210 degrees (internal temperature) of internal temperature.
11. Cool Completely on Rack
Place the loaf on the parchment paper take it carefully, and place it on a cooling rack. Serve it cool and for that reason, it is recommended to allow it to cool for at least one hour before slicing to get that crunchy crust from the bottom.
Check Out: Rustic French Bread at Home – Taste#10.
Additional Tips for No-Knead French Bread

After a few go-arounds, you will find this remarkably easy no-knead French bread to be one of the easiest recipes you will ever embark on. Here are some variations and extra tips as you expand your homemade bread repertoire:
- Add herbs or garlic: For variety add 1 tablespoon of fresh rosemary, thyme leaves, or minced garlic after the 12-hour autolysis before shaping.
- Make baguettes: Third proof before baking and partition the dough into 3; roll each piece into a skinny baguette on a parchment-lined baking sheet.
- Adjust oven setup: DS If you don’t have a Dutch oven put hot stones or another round cake pan or more round cake pans with extra filling on the bottom of the pan.
- Store properly: Keep bread in an airtight bag (or sandwich bag) at room temperature- can store for up to 3 days after the loaf has cooled completely. Before consumption, scrap off the outer rim that has become very tough to the bite.
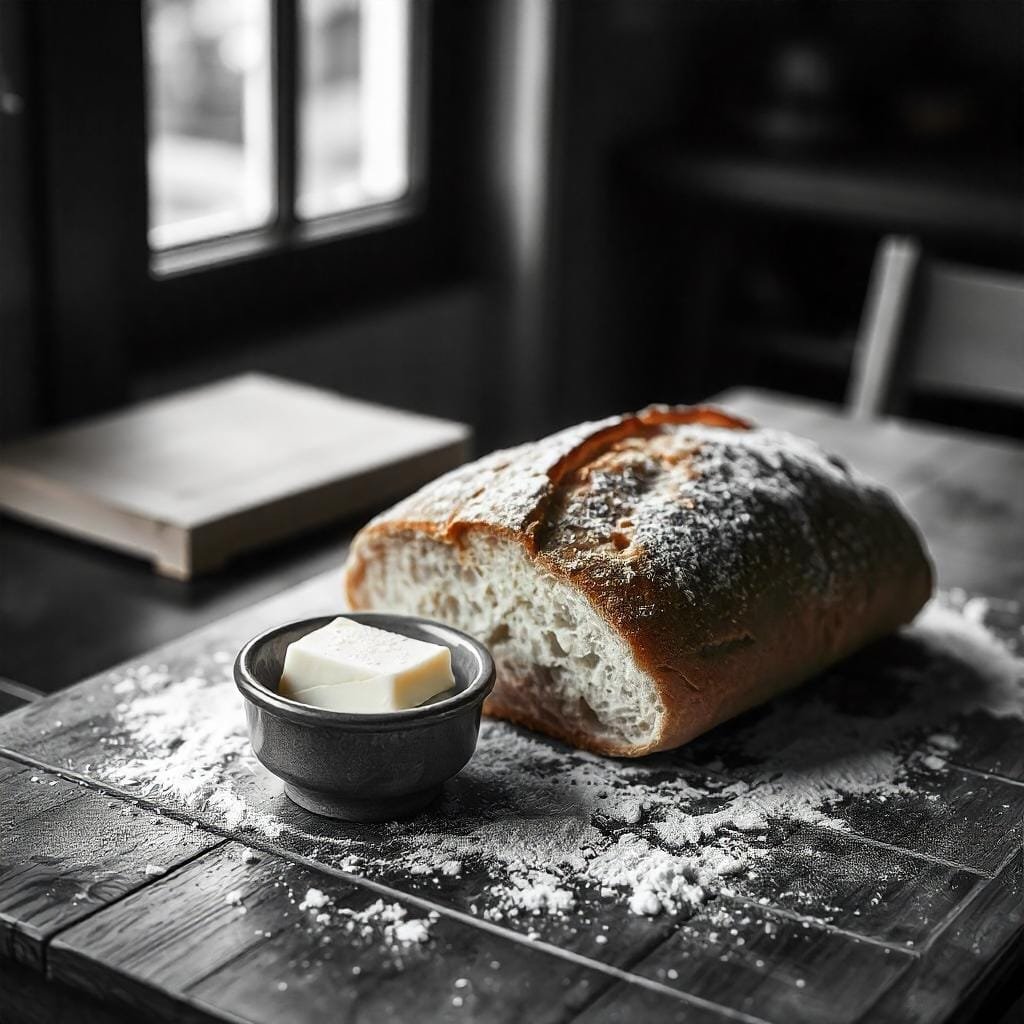
As you’ve learned the no-knead method and are also provided with steps to follow, it is time to bake! The active time is limited, this is why while the dough is fermenting for half a day it is possible to do household practices. You must be ready for that crackling sound when you take the freshly baked boule or baguettes out of the oven, and the soft feel of the interior crumb. This no-knead French bread may have your family and friends thinking you’re the professional boulanger you are! Cut and serve fresh bread simply with butter or enhance every single bowl of homemade soup, green salad, or sandwich by using this high-quality homemade bread.
Conclusion: No-Knead French Bread
Making French bread at home might sound challenging and laborious, but the new no-knead way makes delicious artisan bread easy for beginners. In this particular cookbook, you only need five elements and basic tools, step-by-step instructions handy for anyone to bake delicious crusty, rustic boules and baguettes. The no-touch way prepares yummy, leavened bread on par with bakeries in a single day.
During the time the dough is slowly fermenting, the stretching and folding movements normally carried out manually take place spontaneously as a result of specific enzyme action. All that is demanded of you here is watching over the proofing, giving it a score, and monitoring your baking process. So the next time you’re having the urge for that crunchy, soft crust molded baguette, don’t. Apart from water, flour, yeast, salt, and a few other pantry items, you don’t need much else for this no-knead French bread recipe for the home that’ll rival the best boulangerie in Paris!
For more info: Click Here.
FAQs about No-Knead French Bread
When baking the no-knead dough, can I knead it?
Of course, you can decide to knead it but that defeats the concept of this no-knead bread. A novice baker does not need to interfere with the dough frequently as the enzymes in flour shape the structure of the dough during the autolysis that occurs in extended proofing. You don’t need to stretch, though in some cases it’s dangerous because it weakens the dough or presses on a specific part.
What if my house isn’t warm enough?
The no-knead dough suggested that the temperature condition of the dough should be in the area of 75 to 85 F during the initial fermentation of 12-18 Hours. If your home is cooler, you can help the yeast along by putting it into a bowl pouring warm water heated to between 100 – 110 degrees F, and mixing it with the yeast before combining it with the flour. Just make sure it is not more than 115°F or else you could kill the yeast. Pretty much anywhere that is cool and secluded like inside an oven or close to a heating duct like that in the picture below.
Another question I have is Can I use a different kind of flour?
Ideally, this should be unbleached all-purpose flour with no other additives, or an artisan bread flour that has a protein percentage of between 11 and 13 percent. Whole wheat and other grain flours are low in structure which is why combined with other ingredients. Feel free to change up to ⅓ of the all-purpose flour for such things as rye or pumpernickel flour. No other substitutions can be effectively introduced since they hinder bread from rising as it is supposed to do.


