Table of Contents
Introduction: Milky Loaf Bread
Bread is one of the most popular types of food to be prepared by many cultures existing in and out of the globe. The kitchen’s aroma of freshly baked bread is nothing as satisfying as it. This is a simple and genuine bread recipe that requires only flour, yeast, salt, and water but enhancing the dough with milk imparts a distinctive taste and better texture. It also adds some form of sweetness or rather sweetness to the bread while making the bread softer than ever.
This recipe yields two loaves of the milkiest, softest, and fluffiest sandwich bread you ever tasted in your whole life. It is also slightly sweet from the milk, but the addition of honey brings a very mild sweetness to the loaf. This is a very easy-to-do recipe that even a novice as well as an expert in baking should find very easy to follow. Scroll down for a detailed description of the process with the recipe for the milky sandwich loaf.
Recipe of Milky Loaf Bread Recipe
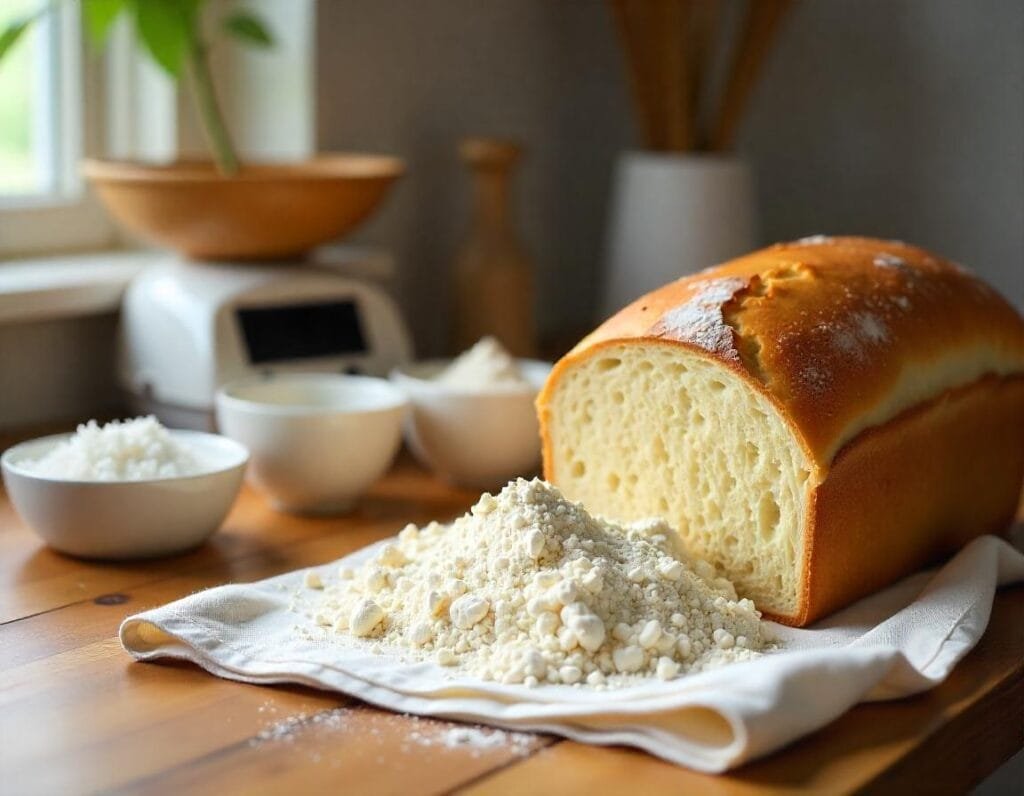
Ingredients
- 3 cups of warm milk, preferably between 110 degrees.
- 2- Packages active dry yeast, 2-2 1/4 ounce
- 1/2 cup honey
- 2 eggs, room temperature
- 1/2 cup butter, softened
- 1 tablespoon salt
- 8 cups all-purpose flour
Equipment Needed
- Large mixing bowl
- Wooden spoon
- Spatula
- 2 loaf pans
- Parchment paper (optional)
Step-By-Step Instruction on Milky Loaf Bread Recipe
Step 1: Activate the Yeast
At the start, you want to put a large mixing bowl, and then add warm milk to the bowl. Pour the yeast into the milk and let it slightly activate for about 5 minutes. When a thin layer of foam has formed on the surface, then it is ready to be cooked.
Step 2: Add the Wet Ingredients
If using it for a cake base or biscuits, then mix the flour mixture well with the honey, eggs, and butter. The honey feeds the yeast.
Step 3: Mix in the Dry Ingredients
Take another bowl and add salt and flour to it. Gradually and alternately, stir the dry ingredients with the wet ingredients, one by one. Keep mixing and add more of the flour gradually, one cup at a time, until your dough becomes shaggy.
Step 4: Knead the Dough
Knead it onto a dry surface and then knead again for approximately 10 minutes until smooth; if it is still sticky, add a little more flour. It has to be such that when one pokes it, the impression will spring back and this is when we have the dough ready.
Step 5: Let It Rise
Put the dough into an oiled bowl, then cover it with a plastic wrap. Take the dough out of the bowl and with loose hands, loosen it from the sides as best as you can and spoon into a bread tin and place it somewhere warm, and rise for 1–2 hours until doubled in size.
Step 6: Punch Down
Pull out the cling film and knock the dough to get rid of air that has found its way into the dough. Divide it in half.
Step 7: Shape the Loaves
Meanwhile, roll each half of the dough on a floured surface into a loaf by dragging the rolling pin over it. Put each into a greased 9:5-inch loaf pan. Knead the dough to fit the pan, cover it, and let it rise once again for one more hour until the dough occupies one inch over the edges of the pan.
Step 8: Bake
If, for example, you use the yeast dough to make the loaves, you should prepare them at the last stage of yeast fermentation. During this time, preheat your oven to 350 F. Bake loaves for 30–35 minutes until it turns too deep golden brown. If it is fully baked, it should sound hollow when tapped from the surface on top. Remove from pans after 10 minutes of cooling time.
Step 9: Cool and Slice
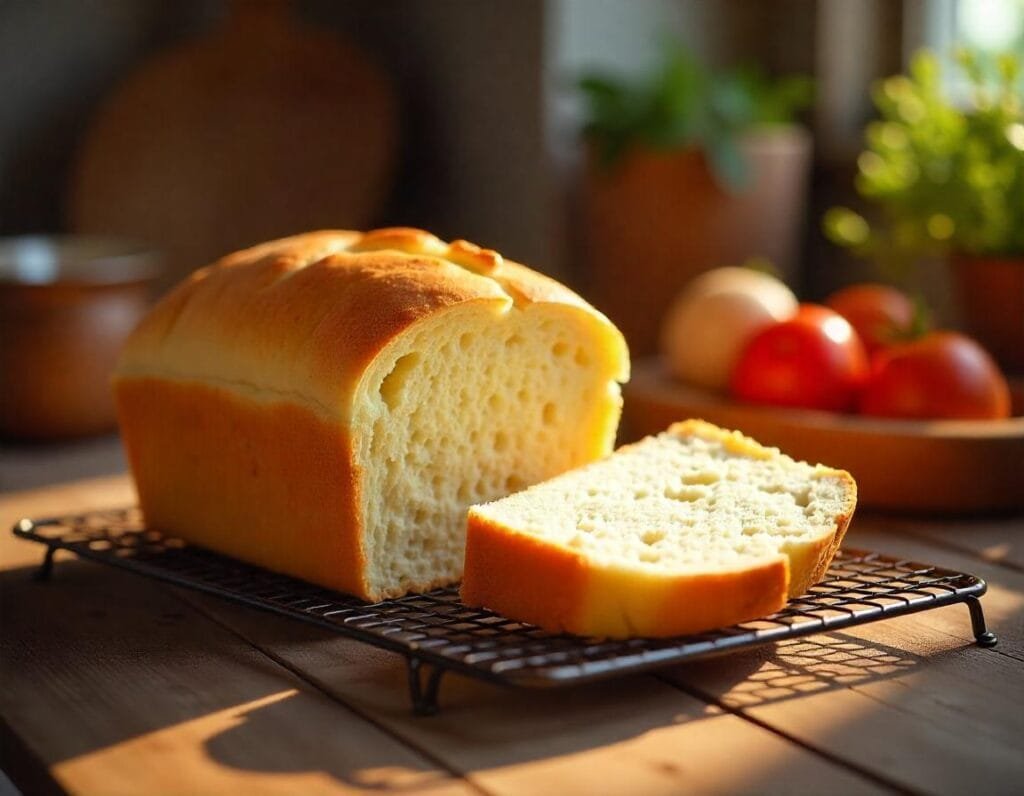
Slice after letting it cool off a wire rack if it has been baked correctly, but not squish them. Best stored in a tightly sealed plastic or placed in an airtight container. It can be stored for 3–4 days at room temperature or until dry at room temperature before getting a fresh tightening.
Check Out: Sugar Free Bread: A Healthier Choice for Every Diet.
Tips for Best Results
- Whole milk or 2% milk should be used at a temperature of 110°F for the best rise of the dough. Yeast feeds on fats, and there are no fats in skim milk.
- Details should also be paid to the freshness of the yeast to activate and distribute in the milk.
- The eggs help make the bread rise even more and the bread tastes richer.
- Kneading tries to strengthen gluten formation, which contributes to the formation of aerated structure. Don’t skip this step!
- The chili is cooked to the perfect consistency, 210°F because the probe stuck in the middle of the chili ensures the inside temperature registers.
- Allowing the baked loaf to cool before slicing offers time for the proteins to firm up, meaning easy slicing.
- This bread is perfect for toasting, making French toast, bread pudding and simply ripping into yeasty chunks to use for soaking up soups and dips. The options are endless! Jump around with add-ins like raisins, walnuts, shredded cheddar, olives, or roasted garlic for some change in taste.
- The addition of milk gives this loaf a beautiful mouth feeling and its moistness can make it irresistible. Have a few slices on hand to enhance ham sandwiches, bacon lettuce and tomato sandwiches, Nutella sandwiches, and much more. This could be slightly sweet and children would relish this bread. Adults will continue to take slices as well.
- This simple-to-make milky loaf bread uses ingredients that you are most likely to have in your kitchen. With this method of preparing this incredible sandwich bread, there is no reason to buy the commercial versions any longer.
Conclusion: Milky Loaf Bread Recipe
This homemade milky loaf bread recipe is perfect for sandwich bread due to its great taste and tender texture. What makes this bread a little different is the incorporation of milk here, which imparts a little sweetness, tenderizes the bread and makes it richer. Honey provides the natural sugars to give it some chewiness, adds the opportunity to rise as well as chewiness and kneading will better form the gluten for when it will have a chance to rise.
Dividing the dough into two loaves creates the opportunity to bake one now and put the second one in the freezer to bake later. This dough is also suitable for rolls or breadsticks, monkey bread, and the like. The key is to reduce the baking time as the shape of the cookies changes. Because of how easy this mild, milky dough is to work with when handling doughs, it is a wise dough to always have at home.
This easy recipe yields homemade sandwich bread from start to finish and is considerably simple – no kneading or two rises involved! Delight your family the next time you sit down to a meal with this restaurant’s quality soft slices of bread that perfectly complement your soups, salads, and sandwiches. That beautiful fragrance you get from your kitchen when you are done is also part of the bonus!
For more info: Click Here.
FAQs about Milky Loaf Bread Recipe
Can I substitute the milk?
Whole milk or 2% milk must be used for this recipe to make up for the fat yield that yeast requires for rise. Skim or 1% milk does not have enough fat. In its stead use the same quantity of warm water or any non-dairy milk you prefer such as almond or oat milk. The texture may turn out to be somewhere between plain sandwich bread and not rich and milky.
What type of yeast is the best?
Reliable advice is to use active dry yeast. You can substitute instant yeast, but it will act quicker in the dough. One packet of either contains approximately 2 1⁄4 tablespoons. Ensure it is fresh because that provides the most leavening power.
Is bread flour necessary?
All-purpose flour already contains enough gluten protein to provide enough elasticity to make kneading feasible at this stage. However, bread flour must be used to obtain the specific chewiness preferred by some consumers. This dough is very suitable for either type.


