Table of Contents
Introduction To Ciabatta Bread

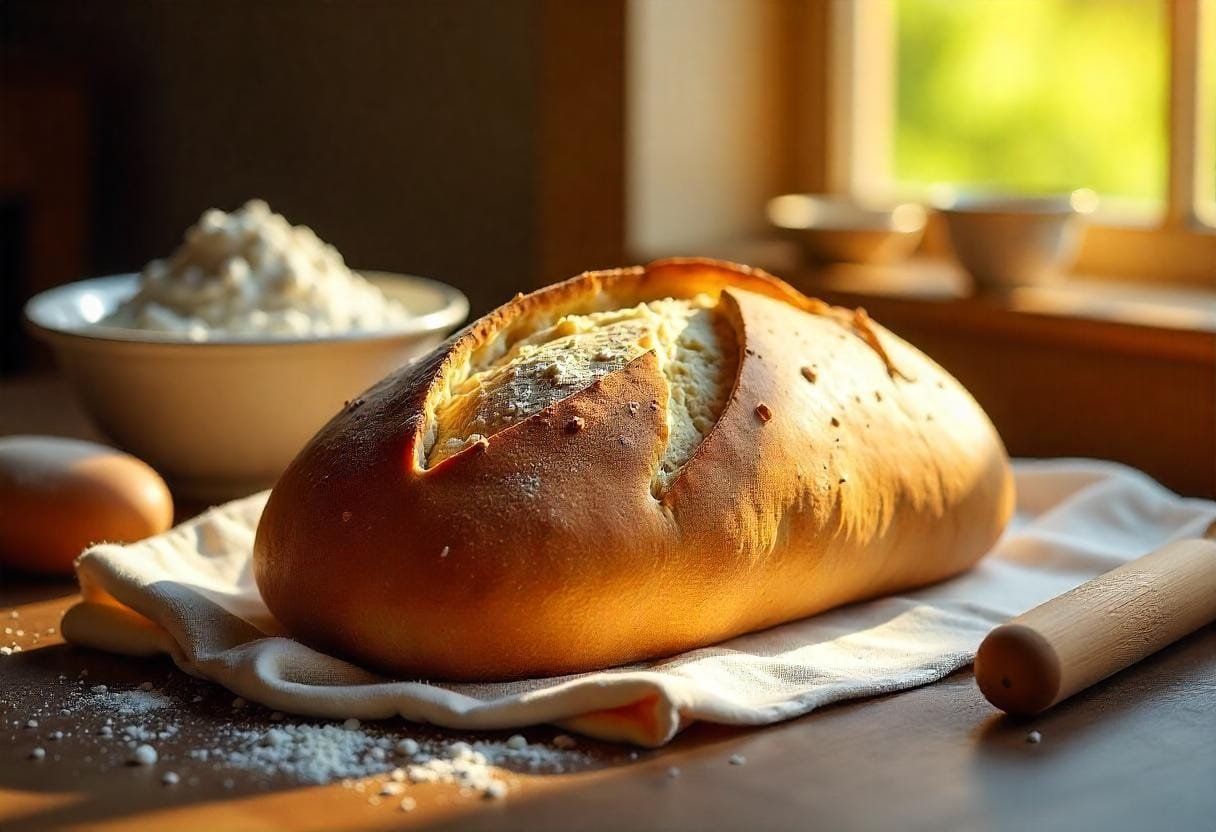
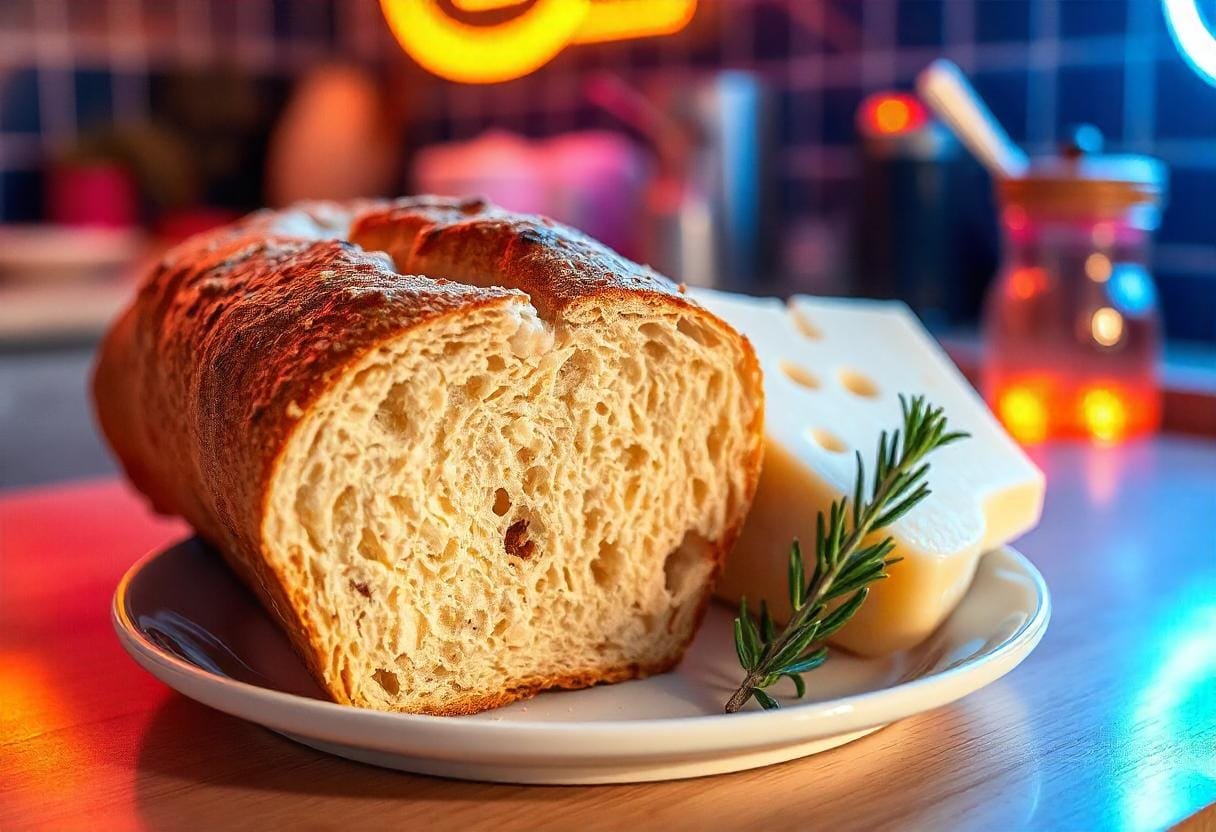
Rustic Italian white bread with its typical slipper-like shape and large pore in the crumb. It also has a crispy crust with a spongy inside. Ciabatta bread can be prepared readily at home, with basic ingredients good for servicing meals from sandwiches to bruschetta. Following are the ciabatta bread preparation instructions, this article also advises on how to avoid common mistakes.
Ingredients For Ciabatta Bread
- 3 cups bread flour
- 1 teaspoon instant yeast
- 1 1⁄4 teaspoons salt
- Room temperature water- 1 3⁄4 cups
- 2 tablespoons olive oil
Equipment
- Large mixing bowl
- Plastic scraper or rubber spatula
- Clean kitchen towel
- Baking sheet
- Parchment paper
Step-by-Step Method for Making Ciabatta Bread
- Mix the Dough
- In this case, combine the bread flour, instant yeast, and salt in a large bowl using a wooden spoon. Create a well in the middle.
- Add the water and the olive oil into the well, asking for something. To incorporate the flour mixture, fold it using a rubber spatula and help it with the liquid mixture. Knead until a rough dough, with a shaggy surface, is obtained.
- Knead the Dough
- The dough is rounded and ready here is how it’s done, gently tipping the dough out onto a clean unfloured work surface. Punch down for about 10 minutes, turning the dough over and folding it on itself to build gluten. It should still be a bit tacky.
- First Rise
- In one large bowl, make sure that you lightly grease this with olive oil. Put the dough back into the bowl, and oil both sides. This prevents drying out. Place the bowl in which you mixed the dough with a plastic wrap or a wet kitchen towel on top of the bowl. Leave it to rise at room temperature for about 1 1⁄2 hours until doubled in size.
- Fold the Dough
- Knead down the risen dough to reduce the size of the dough. Roll out onto an unfloured surface that you want to make the dough’s final form. Pull one end of the dough toward you, then fold it upside down on top of the other side. Do the same on the opposite end, On the opposite end also do the same thing: Then fold in the sides. This builds structure.
- Second Rise
- Preheat the oven to 350 F and grease a baking sheet (or line with parchment paper on a cookie sheet). Put the dough after folding the seam side down onto the pan. Cover slightly with the oiled plastic wrap or just a towel. They should be allowed to rise for another hour until they become puffy. It may not quite double.
- Preheat the Oven
- During the second rise of the dough, put a baking stone in the middle of the oven and turn it on at 450°F. Make sure that the stone gets thoroughly hot, which will take at least half an hour. It also makes for a lovely crisp crust on the outside.
- Slash and Bake
- Score the top of the loaf with 3–4 slants at about 1/4 inch deep using a lame, sharp knife or a razor before baking. This allows for expansion. Bake for half an hour before misting the loaf lightly with water for extra browning if desired.
- Take the baking stone and transfer it to the parchment paper, having the loaf sliding it to the stone. To make steam, pour it into the bottom of the oven. This promotes oven spring. After the ciabatta has risen and turned into a golden brown color, bake for 25–30 minutes. The internal temperature of the fat needed to reach a temperature range of 205°F-210°F.
- Cool and Slice
- When the baked ciabatta is done, take it out of the oven, and place it on a wire rack. The pie will need time to firm up in the crust, wait at least ½ an hour for it to cool down before slicing. Can be enjoyed warm, or at room temperature. It is perfect when eaten naturally or when accompanied by olive oil or balsamic vinegar.
Tips for Best Results
- The internal temperature should be measured with an instant-read thermometer in order to determine Readiness or doneness. This avoids both cases of over and baking.
- Make steam in the oven by beginning the heating of a pan of water on a lower shelf. The float of steam used to make that crust crisp helps spread the heat around and allows the loaf to expand to the full size it can reach.
- They trim off the top, allowing the gasses to expand unhindered through the dough rather than bursting the dough on their way out.
- When using a lid during rises, it prevents the skin from forming on the top of the dough. It is also advisable not to prove in direct sunlight or draft.
Storing and Freezing
Ciabatta is traditionally served immediately after preparation, although at room temperature it can be kept well wrapped up in airtight packs for 2–3 days. For longer storage, they should be stored in the refrigerator, and if to be served later, then best put in the hot oven for several minutes.
For freezing the product has to be allowed to cool until it is completely cold before covering it with a double layer of clear plastic. Freeze for up to 3 months. This is best eaten cold after thawing it in the refrigerator, then reheated in a hot oven if desired.
Check Out: 7 Delicious Crispbread Topping Ideas.
Serving Suggestions

Ciabatta bread has a versatile flavor and texture that makes it a delicious accompaniment for many foods:
- Breakfast: Enjoy the slices with eggs, avocado, toast, or jam.
- Appetizers: Use for bruschetta, crostini
- Sandwiches: Served best with cold cuts, vegetables, cheese
- Salads: Delightful served with fresh greens or even best turned into croutons
- Soups & Stews: Loaf in stews and tomato base sauces
- Snacking: Take on its own with olive oil to dip it in
Ciabatta is the best bread when it comes to sandwich making, be it meatball subs to panini and all the rest in between. Its crust is quite chewy yet can stretch to accommodate heavy filling. Just don’t overload it so that they start falling out and the rest of the contraption comes apart. Less cheese is used, but it is spread in a thin layer so that it acts as a kind of ‘sticky’ that holds the other ingredients together. As much as possible, do not use ingredients that are likely to make the bread damp.
Conclusion
As a versatile Ciabatta Bread with an iconic shape, tastefully chewy whilst still being light, crispy, or crusty as wanted, ciabatta is an essential homemade bread. Surprisingly, this bread can be made only using items that are commonly found in pantries, and basic cooking skills give amazing, restaurant-like, artisan bread. Indeed, the long rise times do require some time and planning, but the actual time spent in assembling everything is next to thirty minutes. Enjoy the bread best at enhanced flavor by allowing it to cool before slicing from the enticing, irresistible loaf.
For More info: Click Here!
FAQs about Ciabatta Bread
Is ciabatta possible to be made in a bread machine/stand mixer?
It is possible to mix ciabatta dough in a bread maker or a stand mixer, setting it on a dough hook option. Combine the ingredients following the sequence mentioned in the following list: Choose the dough button or ON, and knead for 5–7 minutes, when the ingredients are blended and the dough is smooth and sticky. Place the dough in the first rise in the machine/mixer bowl before turning it out onto a counter for the folding and second rise.
What if your ciabatta dough feels too firm/stiff?
If your ciabatta dough is not as light and stretchy as you think it should be, then it could probably use more water. It suggested you add a tablespoon or two of water at a time at the earliest stage of your kneading, after which the dough ought to look a little sticky, soggy, and fluffy. High hydration of dough is required to obtain those big air bubbles characteristic of baked bread.


